During the winter, your camper is vulnerable to expensive damage from bursting pipes, broken water storage, snow accumulation and more. Winterizing your RV is crucial to protecting your investment.Most RVers will bring their rig to a local service center for winterizing. But if you love DIY and home improvement projects, winterizing your RV at home will be a satisfying treat! The process can be tricky, but with some practice, you will become an expert in no time.
In order to winterize your RV on your own, you need to stock up on some specialized products. Below, you will find a handy list of every item you will need to winterize your RV.
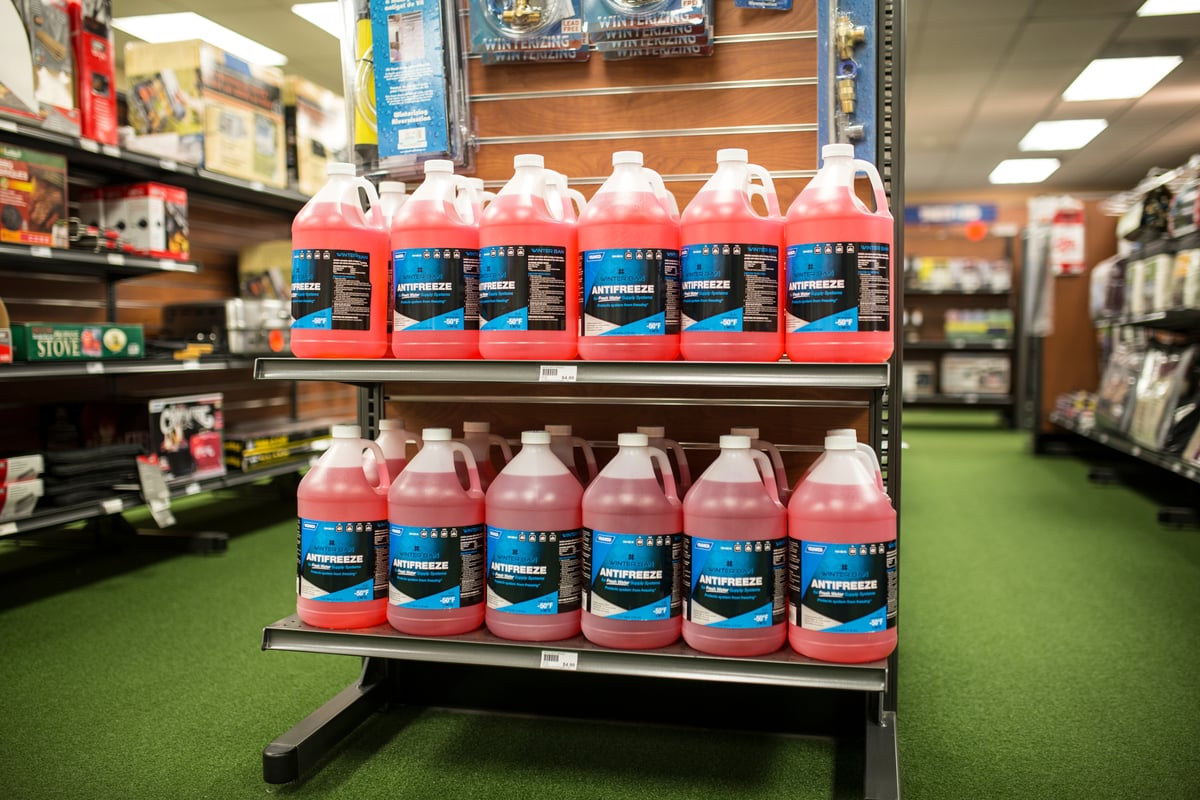
1. Potable Antifreeze
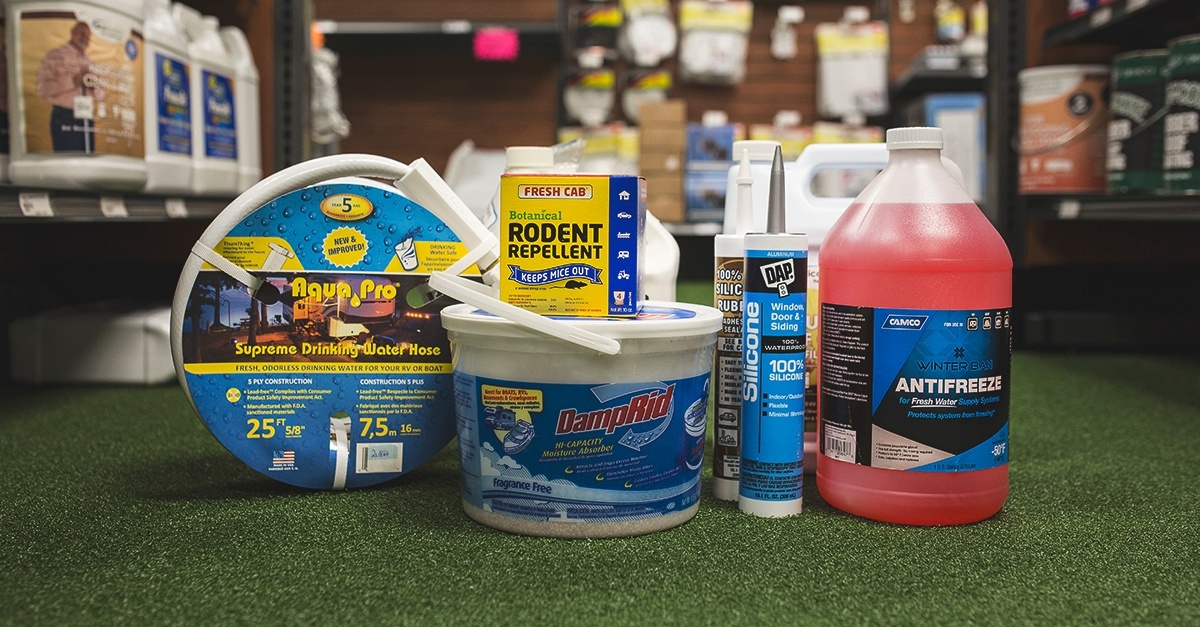
Potable antifreeze is the most important product you will need to successfully winterize your RV. To protect your RV from bursting pipes and broken water storage, you will need to pump the antifreeze through your RV’s water system. We recommend two jugs because you are likely to run out if you only have one.
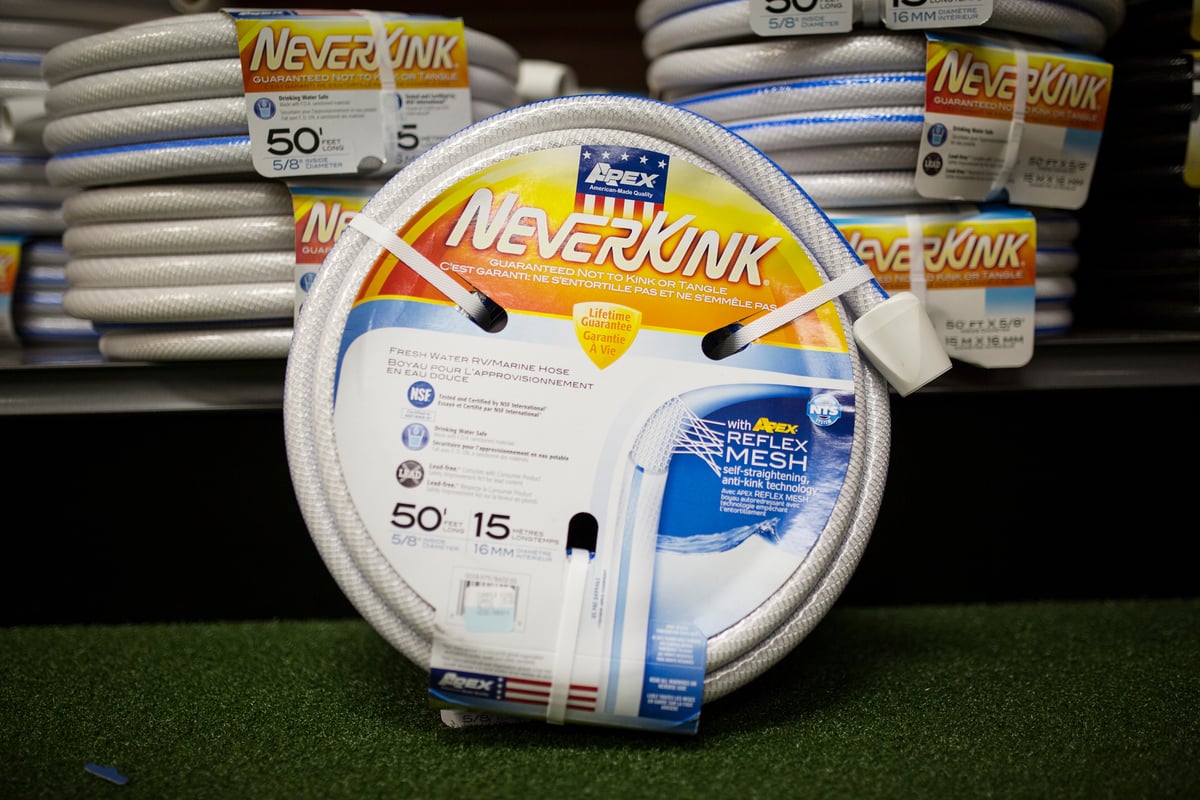
2. Drinking Water Hose
Use the drinking water hose to pump the antifreeze through your RV’s water system.
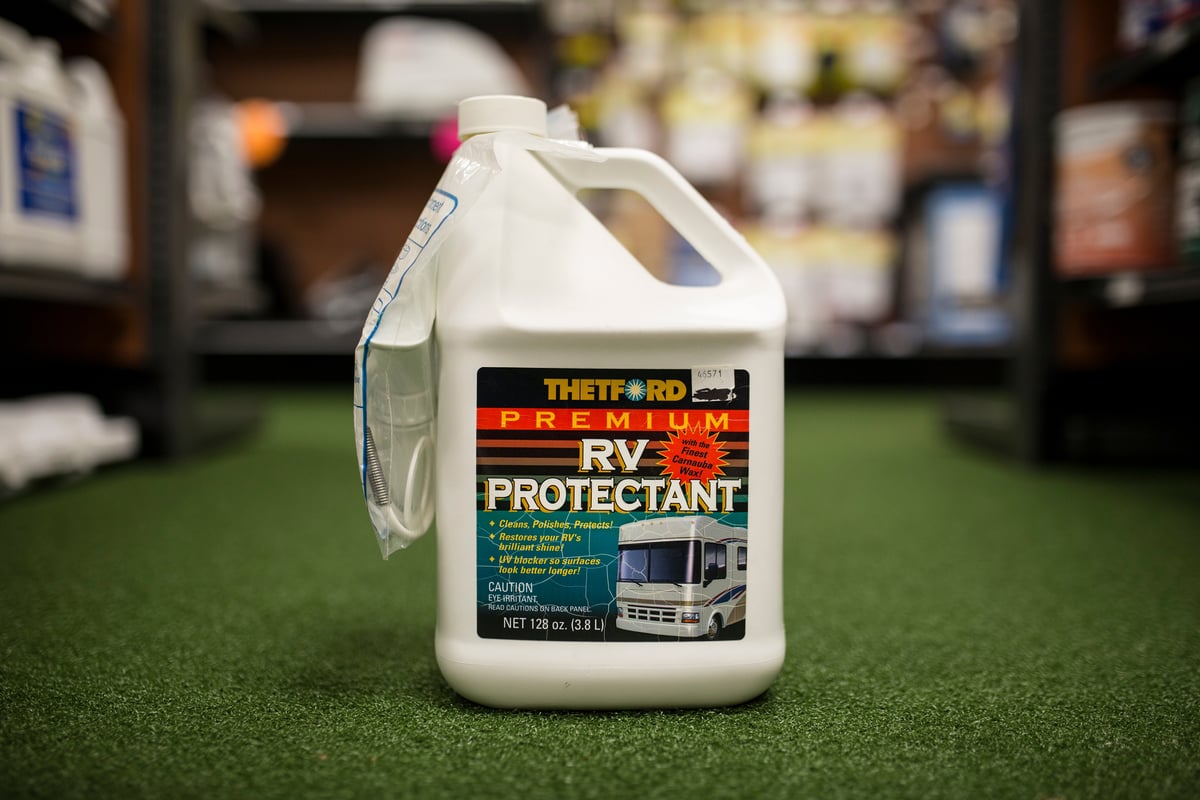
3. Non-Abrasive Exterior Cleaner
Cleaning your RV’s exterior will reveal damages you need to address immediately because water may enter your RV, and this will leave you with an unpleasant surprise come spring.
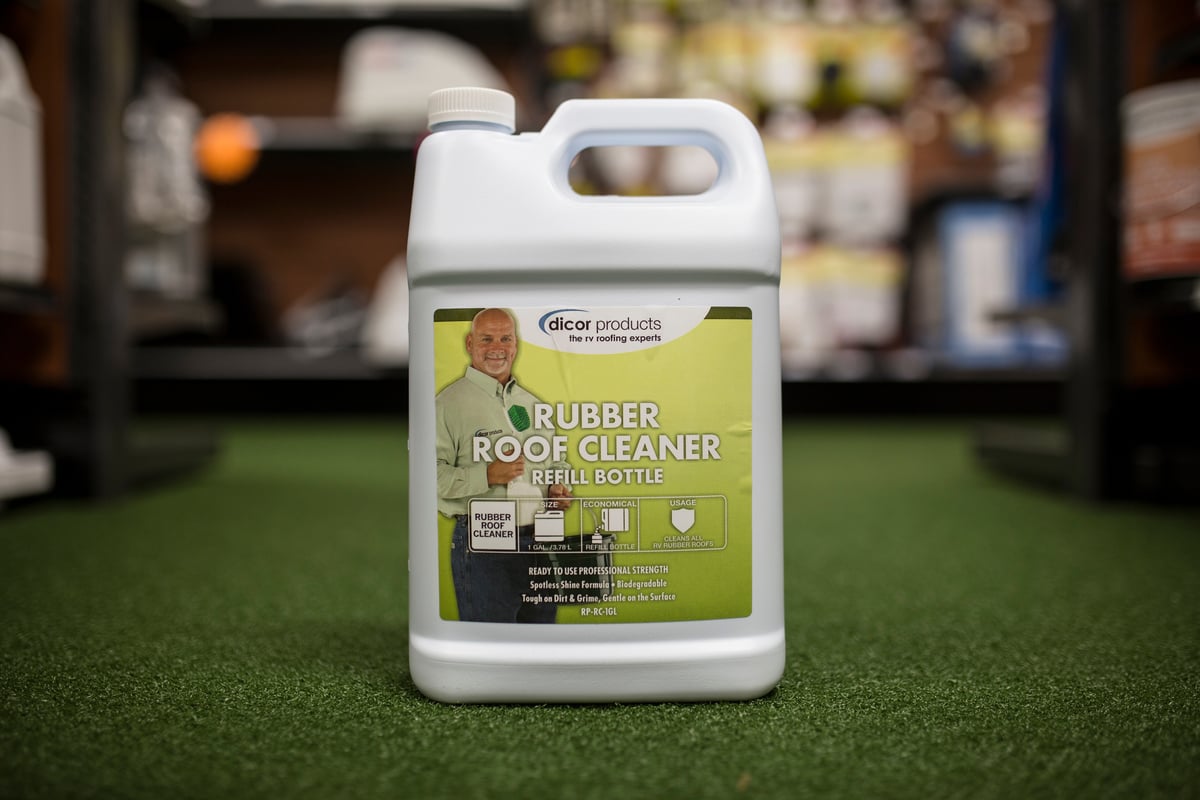
4. Roof Cleaner
The same thing goes for your RV’s roof, but you will need a roof cleaner to do the job correctly.
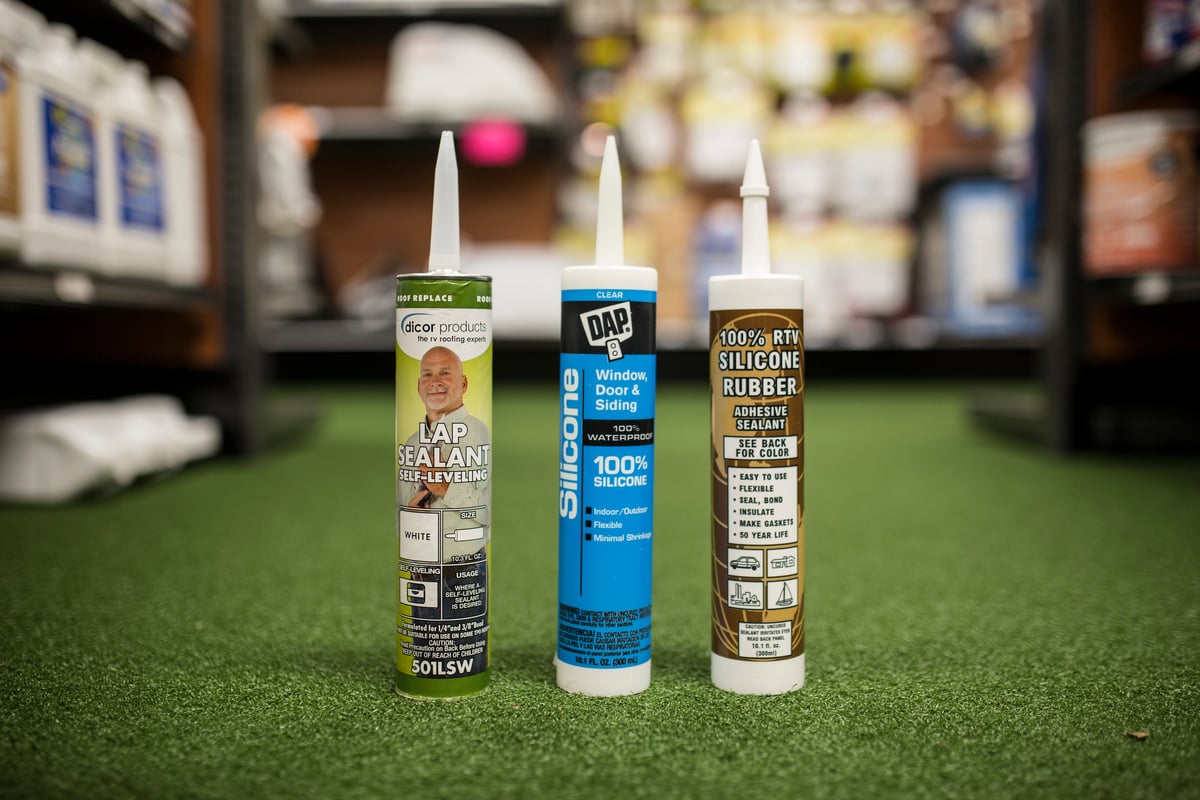
5. Roof and Exterior Sealant (if damage presents itself after cleaning)
If you find any cracks, tears or damage to your RV’s exterior or roof, you will need to repair them with the proper sealant. Note: it is important that you use a sealant compatible with the material of your RV’s roof. RV roof materials can be fiberglass, metal, EPDM (Rubber), TPO or ALFA.
6. Rodent Repellent
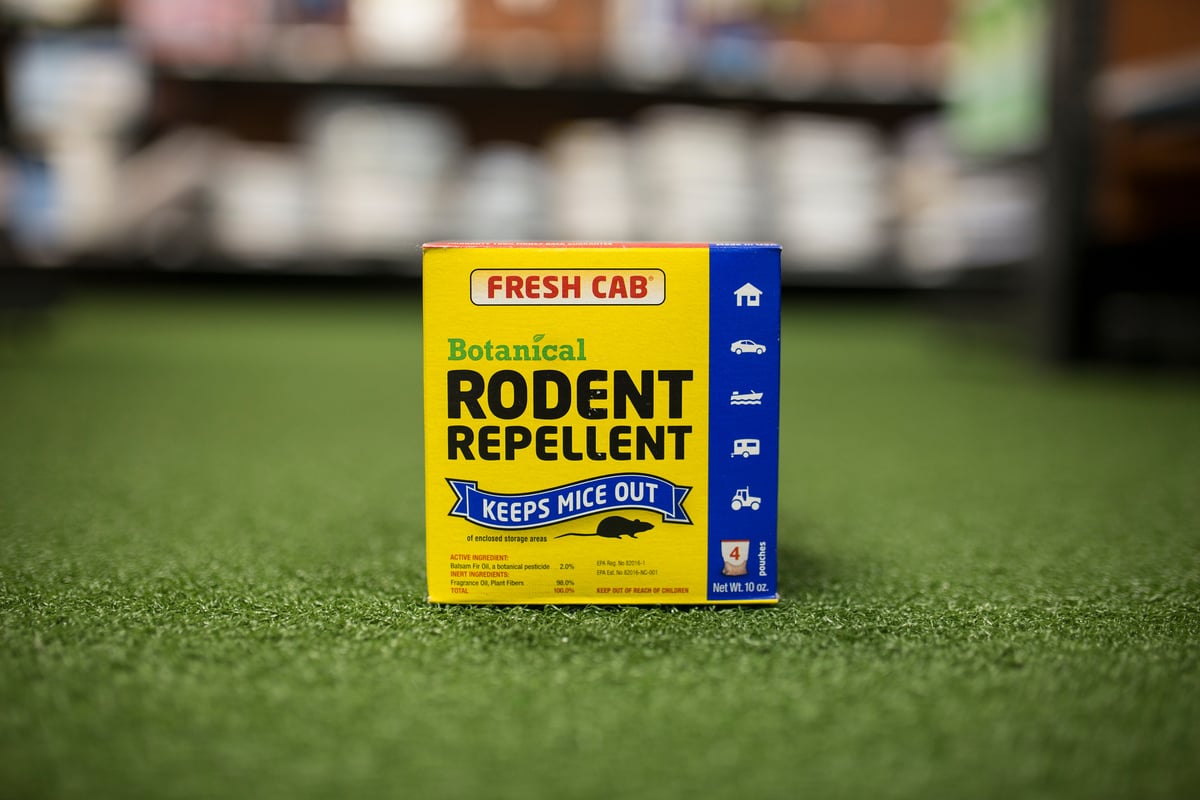
To protect the exterior of your rig from insect and rodent abatement, you will need to place rodent repellent around the exterior of your RV.
Don’t use rodent baits such as poison or traps, because these items give a delayed reaction, and will cause rodents to decay inside your RV. Decaying rodents = one smelly RV come springtime!
7. Dryer Sheets or Cedar Chips
To prevent the interior of your rig from insect and rodent abatement, you will need to purchase dryer sheets or cedar chips. Placing these two items around the interior of your RV will do the trick.
8. Non-Rusting Metal Dish Scrub Pad
You can also keep mice out by plugging any possible entry points with a non-rusting metal dish scrub pad. Why does this work? Because mice won’t be able to chew threw the material!
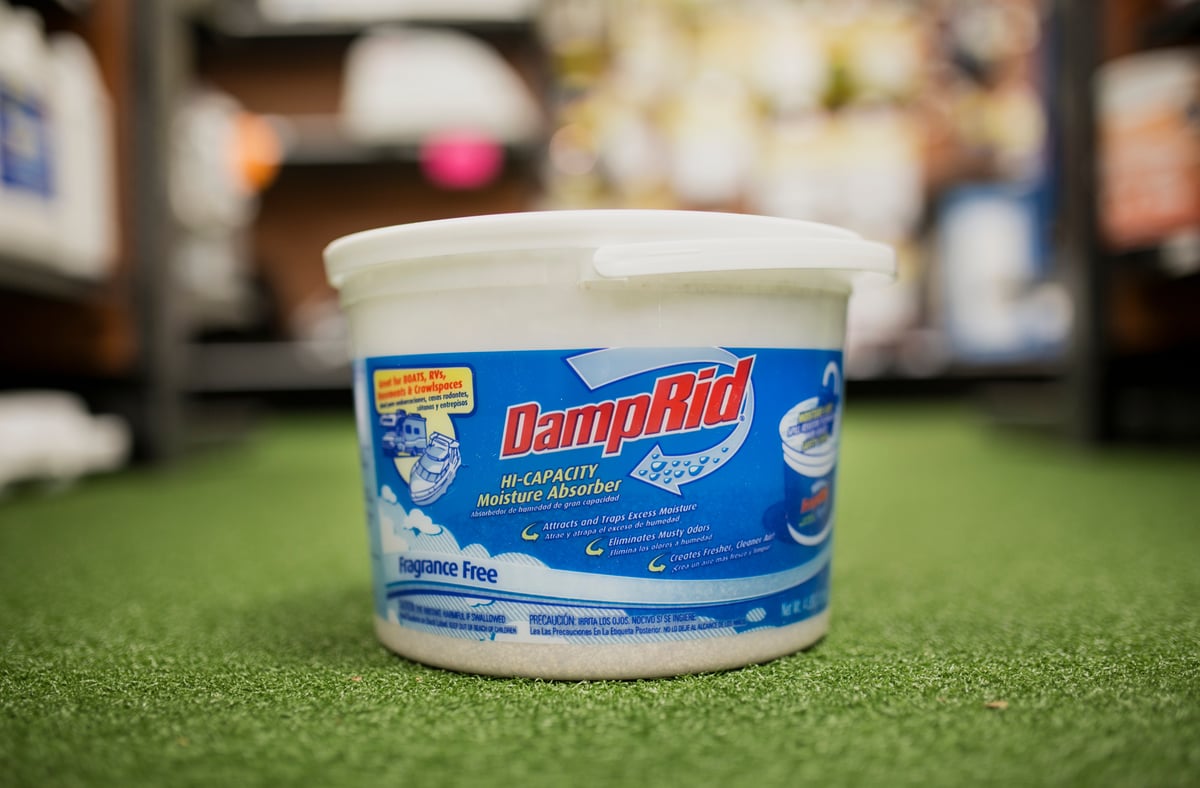
9. Dri-Z-Air or Damp Rid
To prevent mold from growing in your RV’s interior, you will need to purchase either of these products to act as a natural dehumidifier.
10. MaxxAir Vent Covers
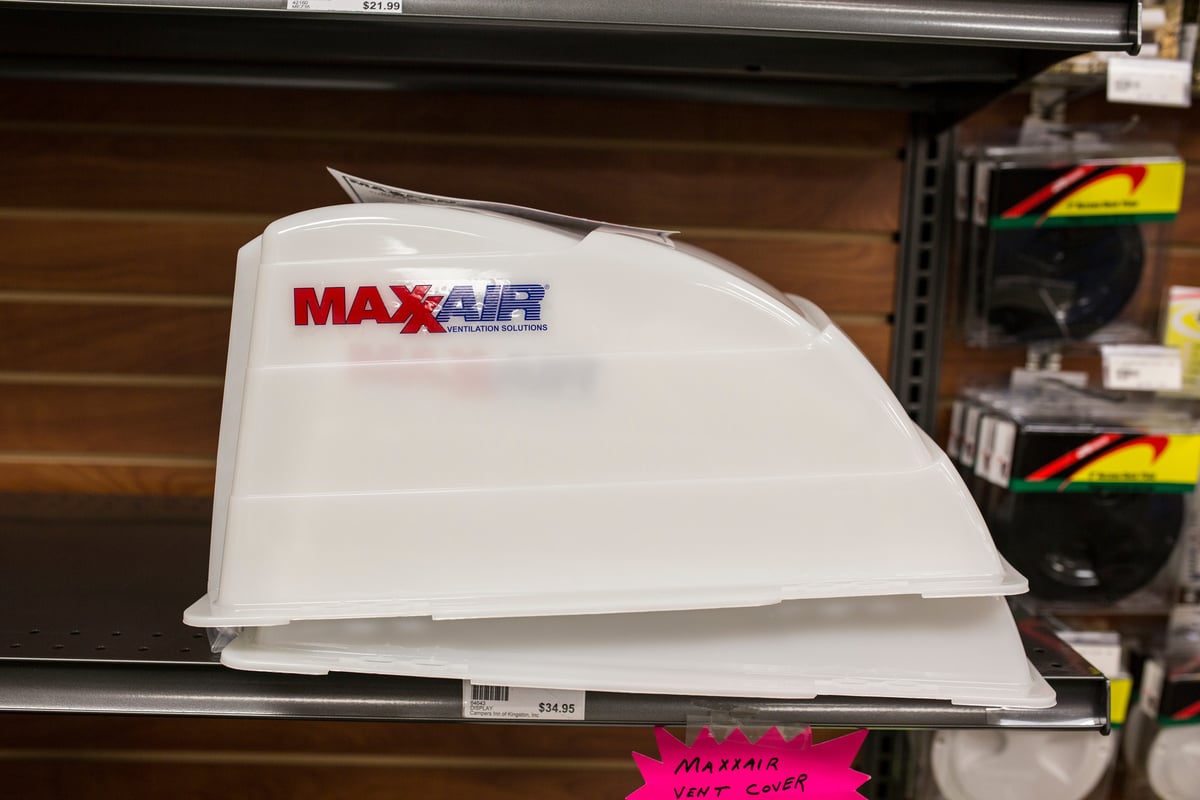
Roof vent covers are another method to prevent moisture and mold. These covers help circulate fresh air through your RV.
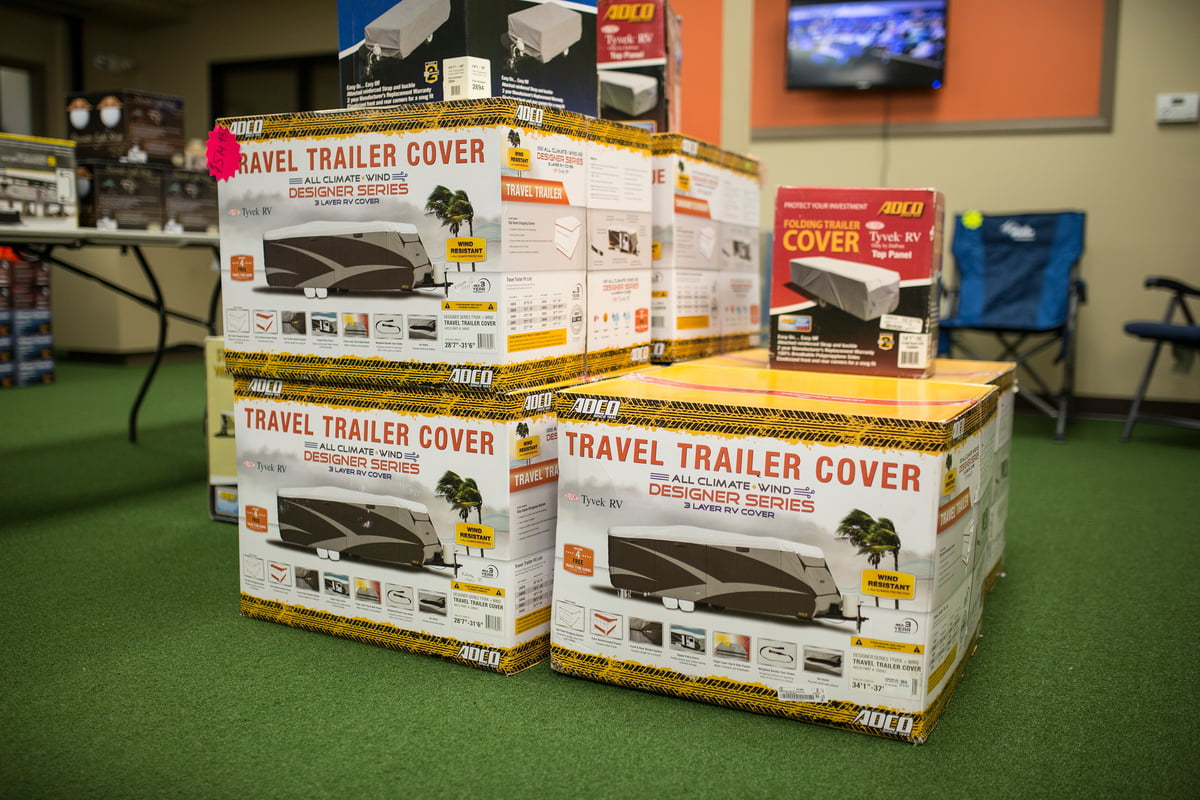
11. A Storage Unit, an RV Cover or a Couple of Plastic Shovels
After you have winterized your RV’s water system, exterior and interior, you need a safe place to store it for the winter. Depending on your budget, you can place your RV into a storage unit, purchase an RV cover or grab a couple of good plastic shovels to remove snow from the roof.
Start winterizing your RV with the water system and protecting the interior and exterior. If you're doing it yourself, make your shopping list with the essential RV winterization shopping list.
